
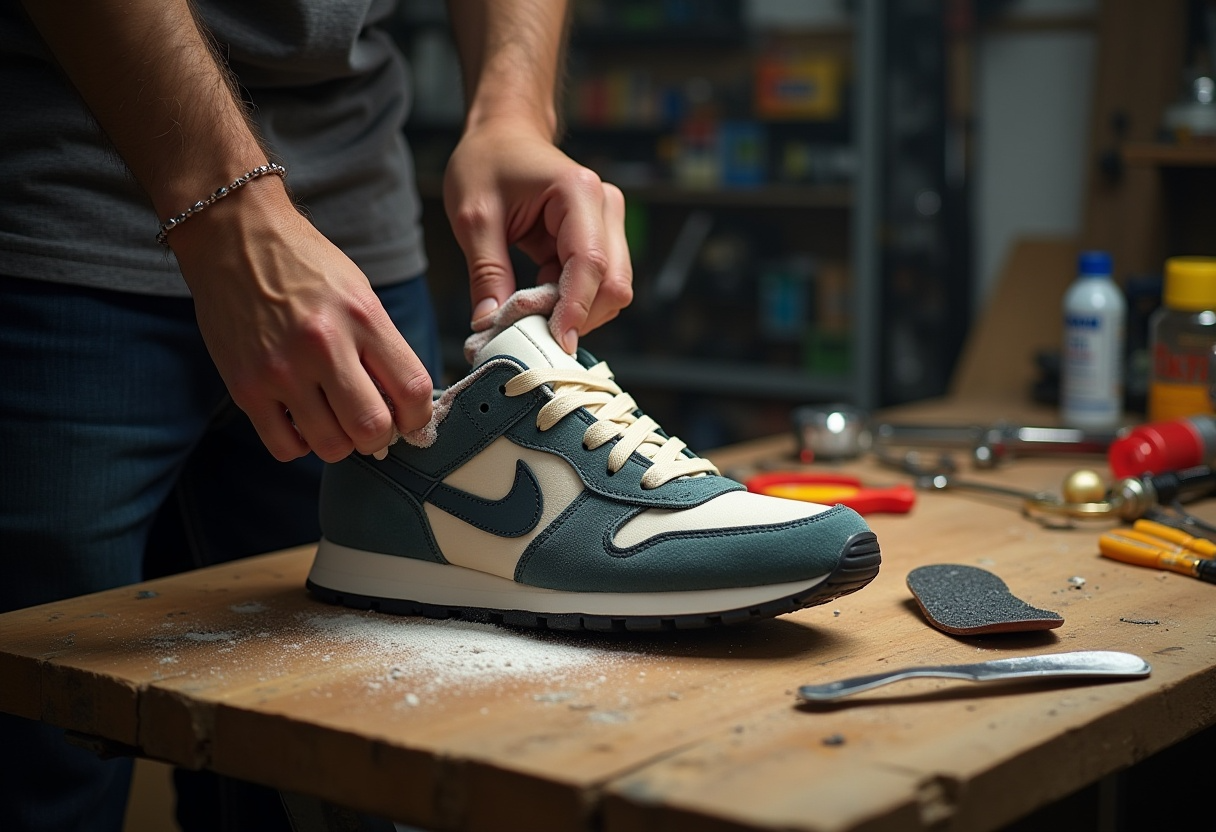
Nothing ruins a fresh pair of sneakers faster than an annoying squeak with every step you take.
Whether you just bought them from your favourite sneakers store or you’ve had them for a while, squeaking shoes can be frustrating, embarrassing, and just plain uncomfortable.
The good news? Most squeaky sneakers are easy to fix with a few simple tricks. In this guide, you’ll learn how to Stop Sneakers From Squeaking and apply easy, effective solutions to enjoy silent, confident steps once again. Let’s get started.
Identifying the Source of the Squeak
Finding the exact cause of the squeak is the first and most important step.
How to Pinpoint the Noise
Start by walking normally and then slowly rocking your feet forward, backward, and side to side. Listen carefully: Is the noise coming from the sole, the tongue, or the insole?
Sometimes, having a friend observe and listen as you walk can help you spot the squeaky culprit more easily.
Common Squeaky Areas
Focus on typical problem areas:
- Loose insoles rubbing inside the shoe
- Tongues shifting against the upper part
- Moisture or trapped air in the midsole
By identifying the source correctly, you’ll know exactly which fix to apply and avoid unnecessary damage.
Applying Moisture-Absorbing Powders
Moisture build-up is a silent enemy that can turn even premium sneakers into noisy distractions.
Best Powders to Use
Baby powder, cornstarch, and baking powder are all excellent choices. These powders help by absorbing hidden moisture that creates friction between the shoe’s layers.
How to Apply Effectively
- Remove the insoles carefully.
- Sprinkle a generous amount of powder inside, focusing on seams and under the insoles.
- Gently tap or massage the powder to distribute it evenly.
- Reinsert the insoles and walk around to test.
Remember: In humid climates or after intense activity, you might need to reapply powder regularly to keep your sneakers noise-free and fresh.
Lubricating Squeaky Seams
When powder isn’t enough, reducing friction directly is the next best move.
Which Lubricants Work Best
Use a tiny amount of petroleum jelly, coconut oil, or silicone spray.
For hard-to-reach seams, a cotton swab can help you apply lubricant exactly where it’s needed without overdoing it.
Important Care Tip
Always test your chosen lubricant on a small, hidden part of the shoe first especially for leather or specialty materials to make sure there’s no staining or damage.
Lubricating seams is a fast, reliable way to eliminate friction noises and keep your sneakers feeling buttery smooth as you move.
Checking for Loose Components
Loose parts can often be the hidden cause of stubborn squeaks.
Inspect for Loose Parts
Examine your sneakers closely:
- Check where the sole connects to the upper part.
- Look inside for shifting insoles.
- Pay attention to any movement or gap at the heel.
Loose tongues and insoles are especially common in well-worn shoes or certain brands known for lightweight designs.
Secure Shoe Components
- Tighten shoelaces firmly to minimise unnecessary movement.
- Use a few drops of strong adhesive (like rubber cement) to reattach loose parts.
- If the sole is detaching, professional repair might be necessary to avoid further damage.
By regularly checking for wear and tear, especially if you’re constantly adding new pairs from your trusted sneakers store , you can prevent small issues from becoming big problems.
Drying Out Moisture
Moisture inside sneakers doesn’t just cause squeaking it can also lead to odours and material damage if left untreated.
Newspaper Moisture Absorption
Crumple sheets of newspaper and stuff them tightly inside your sneakers.
Newspaper’s natural absorbency helps draw out moisture trapped inside fabric, midsoles, or hidden seams.
Let the shoes sit in a dry, well-ventilated area for at least 12 hours.
Talcum Powder Application
After drying, sprinkle talcum powder inside your sneakers before reinserting the insoles. This helps maintain dryness and reduces friction points that cause squeaks.
Proper Ventilation Techniques
After every heavy wear or rainy day, air out your sneakers.
- Remove insoles if possible.
- Avoid direct heat (like radiators) to prevent damaging materials.
- Use a fan or gentle airflow to speed up drying.
Dry sneakers are happy sneakers quiet, clean, and ready for your next adventure.
Seeking Professional Assistance
Sometimes, despite your best efforts, the squeaking refuses to stop.
When to Visit a Cobbler
A professional cobbler or a specialised sneakers repair shop can:
- Properly reglue separated soles
- Fix internal padding issues
- Apply industrial-grade lubricants safe for sneaker materials
Warranty and Return Tip
If your sneakers are new and the squeaking starts early, check the return policy. Some reputable sneakers stores offer easy exchanges or repairs under warranty, saving you time and stress.
Professional help ensures your sneakers are fixed the right way without risking damage through repeated DIY attempts.
Frequently Asked Questions
To stop your sneakers from squeaking, dry them thoroughly and break them in. Apply petroleum jelly under the insoles, sprinkle baby powder inside, and use silicone spray on the soles if needed. These steps should reduce noise.
You can use WD-40 to temporarily fix squeaky shoes by lubricating the seams. Apply it sparingly with a cotton ball. Remember, it’s not permanent, and excessive use might damage your shoes, so proceed with caution.
You can tackle squeaky shoes by sprinkling baby powder inside to absorb moisture, applying petroleum jelly on insoles to reduce friction, or using silicone spray for lubrication. Experiment with socks to find what works best for you.
You can spray silicone spray or WD-40 on the affected areas of your shoes to stop squeaking. Apply the spray carefully, then wipe off any excess to prevent slipperiness and ensure your shoes remain safe to wear.


Leave a comment